

Step 1
Download the Zerene app




Step 2
Brush and floss
Get ready to make a good impression 😄


Step 3
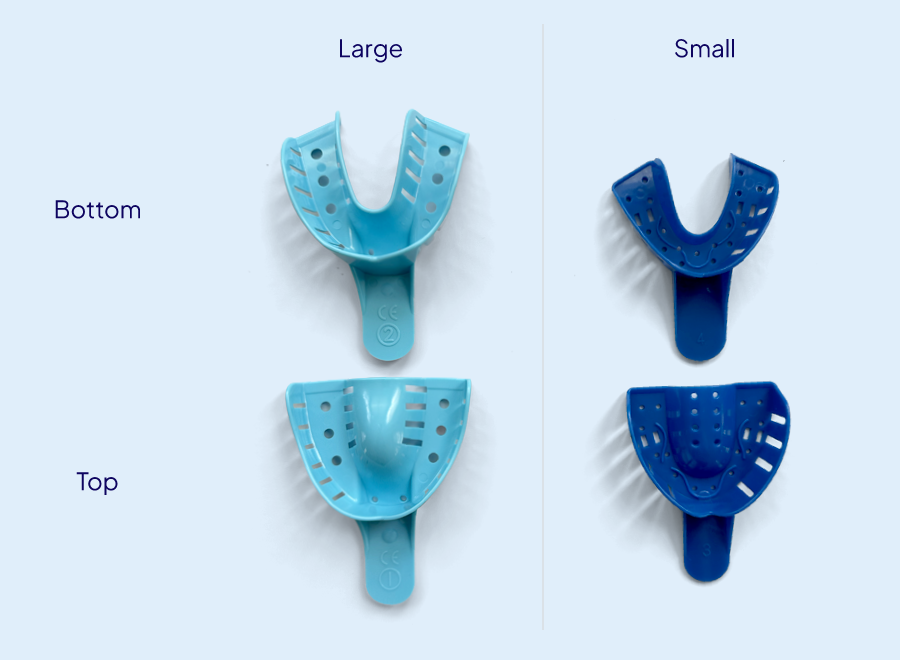
Pick your size
Most people should use the large trays.

Step 4
Mix the putty
⚠️ TIME SENSITIVE ⚠️
Complete this step in under 1 minute:
Mix one (1) blue and one (1) white putty together with your hands until uniform in color.

Step 5
Load the tray
⚠️ TIME SENSITIVE ⚠️
Roll the putty into a snake and press it into the upper teeth tray.

Step 6
Bite down
⚠️ TIME SENSITIVE ⚠️
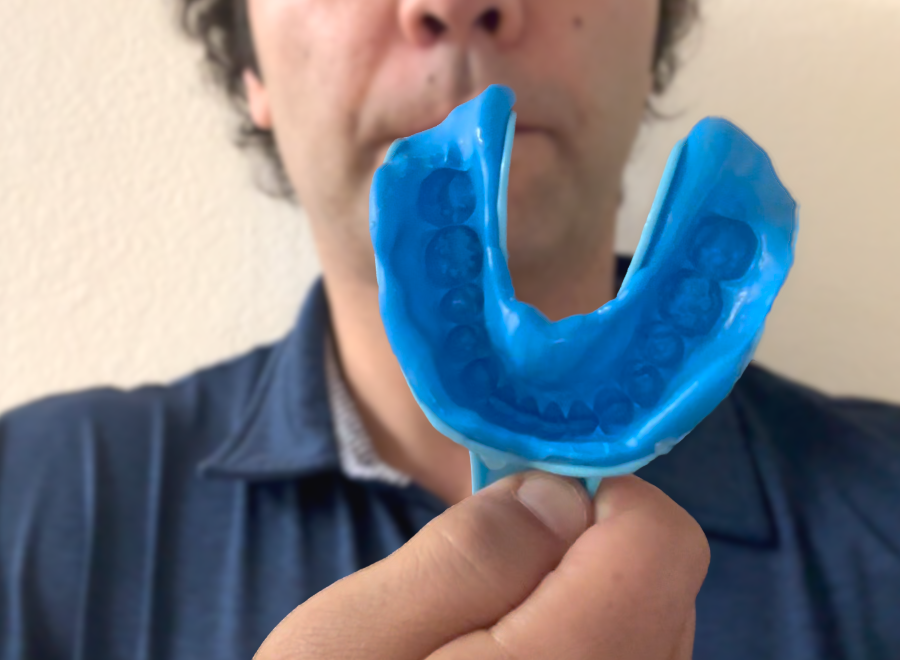
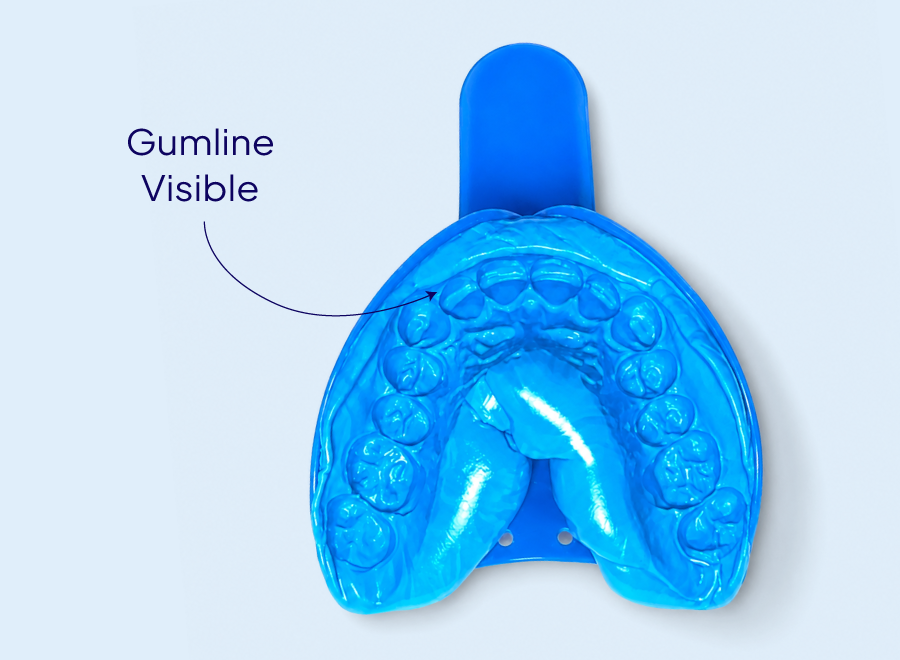
Put the tray into your mouth and press your upper teeth into the putty, up to at least the gum line.

Step 7
Remove after 5 minutes, then rinse
Keep the tray in your mouth for 5 minutes, then remove it and rinse with water.

Step 8
Take a photo for review
Take a top-down photo of your impression and submit it for review via the Zerene app.

Step 9
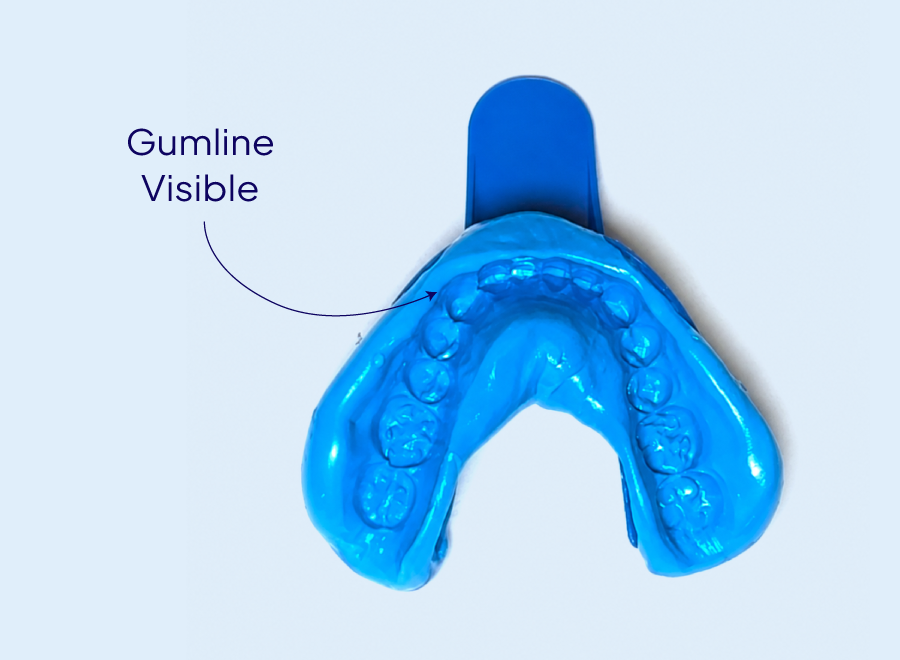
Repeat for lower teeth
Repeat steps 4-8 using the bottom tray for your lower teeth.

Step 10
Store in envelope, but don't seal it yet
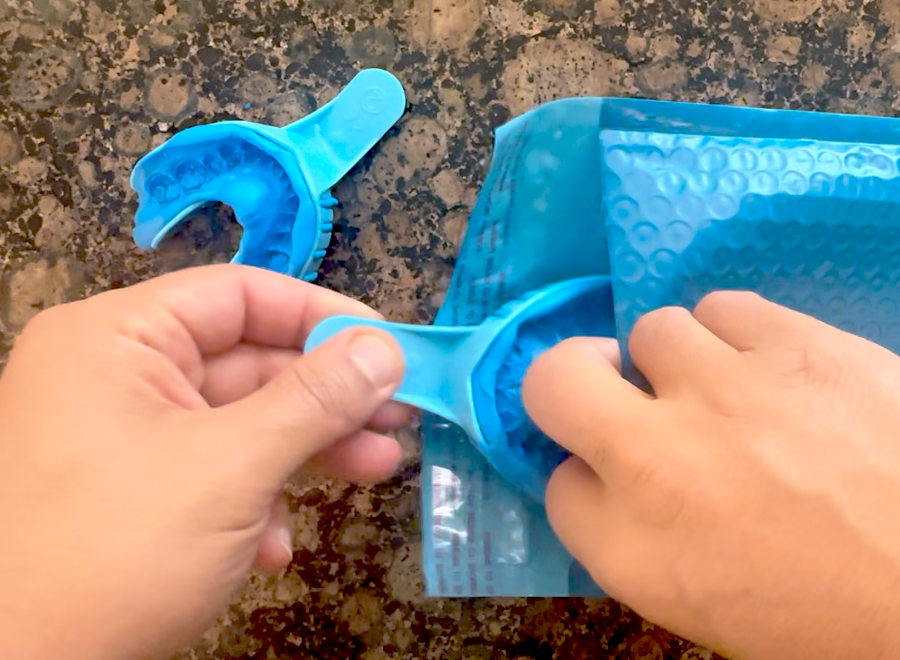
Place your impressions inside the return envelope for safekeeping, but do not seal it until you have received approval from Zerene.

Step 11
Mail it back
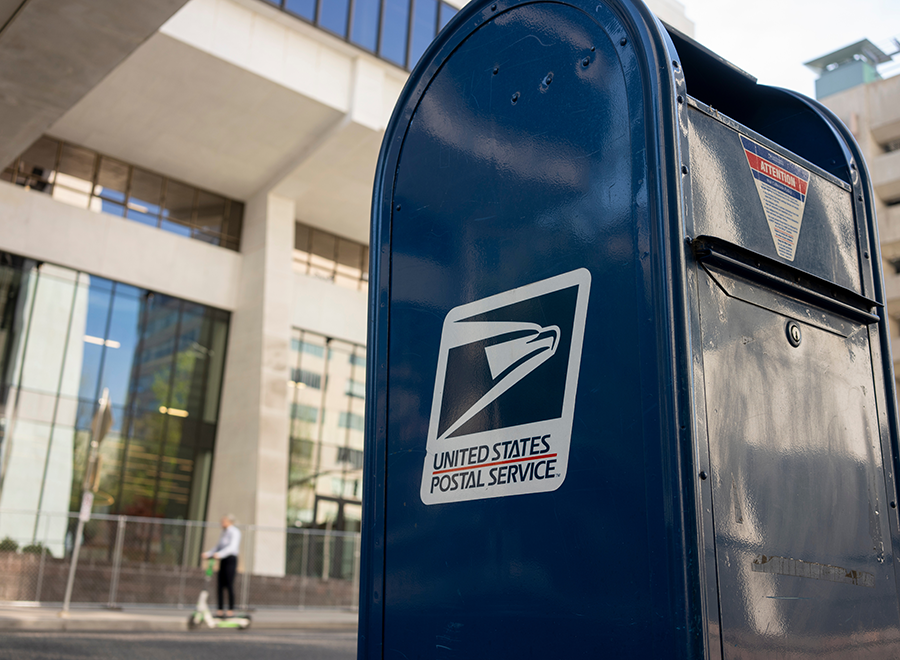
Once approved, seal your envelope and mail it back to us from your home or any USPS box.
Do not send via UPS or FedEx - use USPS only.

Great work. You're all set.
Relief is on the way.