Step-by-step instructions for completing your Zerene dental impression kit — from downloading the app to mailing your impressions back. Your custom Zerene starts here.
Download the Zerene app
Brush and floss
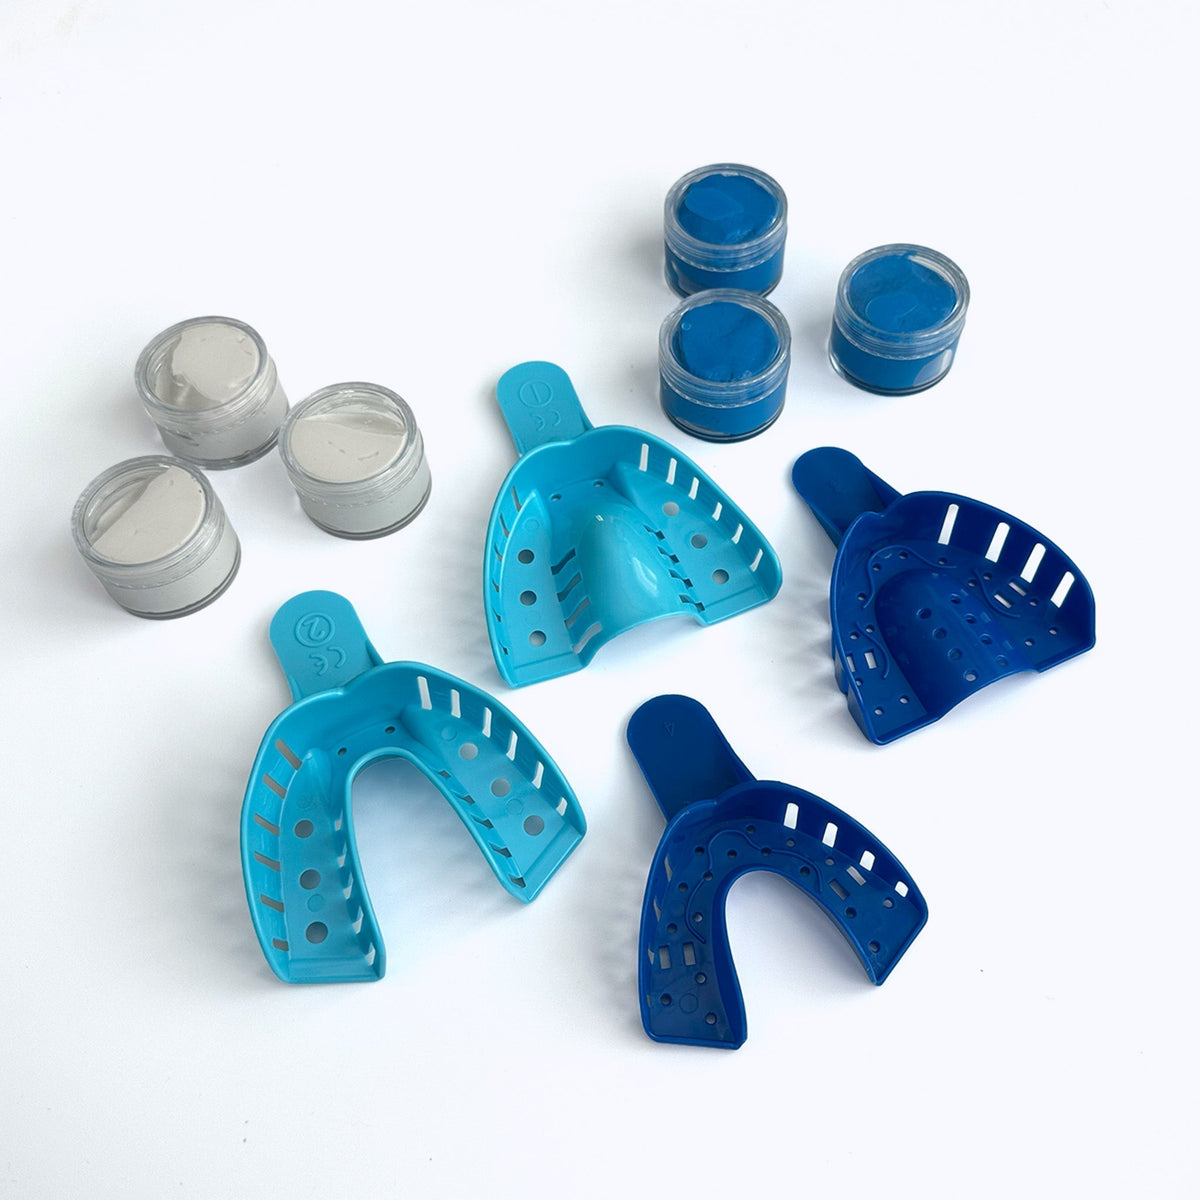
Select the correct tray
Most people should use the large tray.

Mix the putty
Mix one blue and one white putty together with your hands until uniform in color.

Load the tray
Roll the putty into a snake and press it into the upper teeth tray.

Bite down
Put the tray into your mouth and press your upper teeth into the putty, up to at least the gum line.

Hold, then rinse
Keep the tray in your mouth for 5 minutes, then remove it and rinse with water.

Submit for review
Take a top-down photo of your impression and submit it via the Zerene app.

Repeat for your lower teeth

Store for safekeeping
Until approved, place your impressions inside the return envelope.

Mail it back
Once approved, put your impressions in your mailbox for pickup or drop them off at any USPS location.
